
Reviewed · HIKING & TREKKING
Odda: Trolltunga Winter Hike on Snowshoes
This is an Odda outing where the effort feels worth it. You earn the big views on snowshoes, then finish with a fast, fun snowracer run down the snow road. It is one of those winter days that feels both adventurous and practical, not just pretty.
I love the combination of the long mountain walk and the moments your guide builds in for photos and breaks. You also get a real winter-world payoff at the end, with Trolltunga’s rock shape rising above the Ringedalen area and the Folgefonna glacier in the distance. One drawback to plan for: it is a 10 hour commitment in cold, changeable weather, so you need to dress smart and keep moving.
If you want a guided winter route with safety gear, English narration, and a pace that stays realistic, this fits well. The route is also clearly designed for winter conditions, with micro spikes or snowshoes when needed and a guide carrying safety and first aid equipment.
Key points to know before you go
- 7:30 AM start from Skjeggedal near P2 helps you get on the trail early in winter light
- Snowshoe switch after the initial hike keeps the steep parts manageable once the real climb begins
- Gryteskar is the toughest uphill section, so go into it ready for a steady climb
- Multiple view stops include the Ringedalen valley and frozen waterfall area along the way
- Trolltunga in winter gives you that famous rock viewpoint with Folgefonna in the distance
- Snowracer return from P3 to P2 turns the end of the day into an adrenaline bonus
Why this Trolltunga hike feels different in winter
Winter turns Trolltunga into more than a photo destination. Yes, the rock formation is the headline. But what you actually remember later is the feeling of walking through quiet snow, watching wind carve new shapes into drifts, and then hitting a sled-like ride that flips your mood from “working hard” to “let’s go.”
Odda’s winter setting adds extra depth to the view. You are not just looking at a single point. From the trail you can see the Ringedalen valley with steep mountain walls, plus frozen waterfalls and icy formations that change with the weather. On clear days, you also get the Folgefonna glacier far off in the background, which makes the whole day feel big and remote.
I also like how the tour is built around your day staying fun. There are breaks along the way, and your guide helps you find good photo spots. That matters because in cold weather you want to stop at the right time, not when you’re already fading.
The big consideration is simple: you are out for roughly 10 hours (and the broader tour planning can reach 10 to 12 hours depending on conditions). If you are not comfortable walking uphill for long stretches, or if winter weather forces changes, you’ll feel it. This is still a guided hike, but it demands real winter effort.
More Hiking & Trekking in Bergen
- Flåm: Tvinde Waterfalls, Stalheimskleiva Hike & Gudvangen
★ 4.0 · 22 reviews - Bergen: Fjord Hiking
★ 4.1 · 21 reviews - On Top of Bergen – Private Hike
★ 5.0 · 18 reviews
The full route, from Skjeggedal parking to Trolltunga
The day starts at 7:30 AM, meeting at the Trolltunga Active store next to the P2 parking area in Skjeggedal (called Skjeggedal/P2). After you meet the guide and the group, you get a short briefing on weather and safety. Then you confirm everyone is properly prepared, with gear rental available if you need it.
From there, the itinerary moves in a clear progression:
Warm-up hike to Mågelitopp
You begin with a 4 km hike from Skjeggedal up to Mågelitopp. This part is your runway. It is the section where you’ll find your pace, settle into the winter air, and get your legs working before snow travel gets more intense. It is also when layers matter most, because you’ll warm up fast and then cool off again once the climb steepens.
Switch to snowshoes, then the climb to Gryteskar
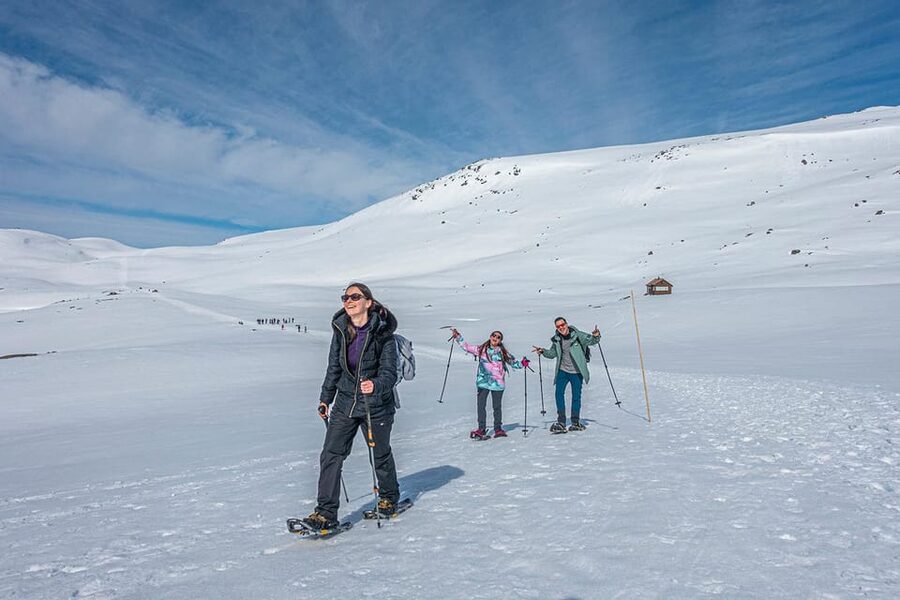
After Mågelitopp, you switch to snowshoes. This is also where you “conquer” the steepest uphill of the day, Gryteskar. The tour is designed so you start the harder traction work once the snowshoe setup is in place, which helps you stay more efficient.
In practical terms, Gryteskar is the make-or-break segment. If you go too fast early, you’ll burn energy before the easy travel starts. If you pace it, the next stretches feel far more manageable.
More Winter Activities in Bergen
- PRIVATE GUIDED TOUR: Highlights of Norway – Trip to the Sognefjord – WINTER
★ 5.0 · 9 reviews - Bergen: Snowshoe Hike
★ 5.0 · 7 reviews - PRIVATE GUIDED TOUR: Norway’s Highlights – Viking Special, 11-12 hours – WINTER
★ 5.0 · 3 reviews
Travel through the middle section and built-in view stops
Once Gryteskar is done, the hike becomes easier, with up and down terrain. This is where you move through the core winter scenery on the way to Trolltunga. You’ll pass along key points that include Floren Endåne and Tyssebotn, with the route continuing toward Trolltunga.
The guide’s job here is especially useful. You get breaks at planned times, and your guide shares local nature and history stories while pointing out good photo spots. This turns the “walk” portion into something more engaging, and it also keeps the group together on a day when trails can be covered or hard to read.
Reaching Trolltunga for photos and the big moment
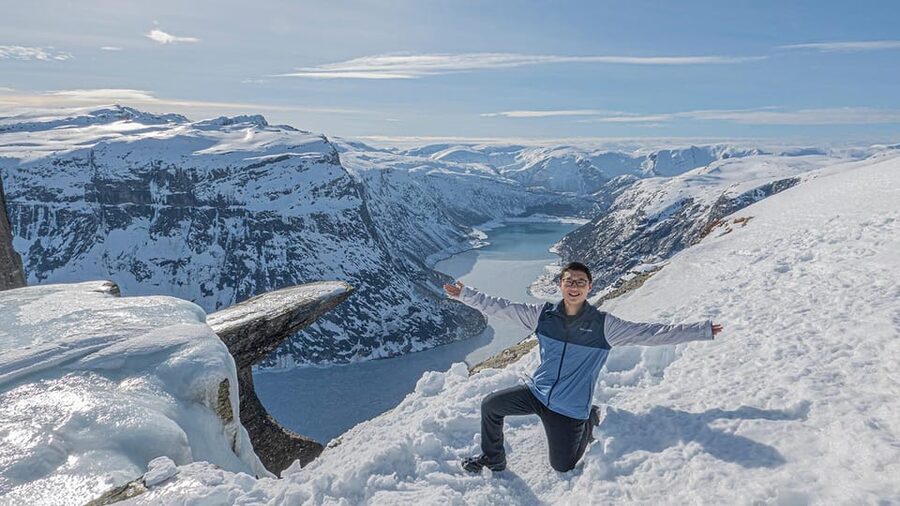
Eventually you arrive at Trolltunga in winter conditions, with the rock formation rising above the winter views toward the Ringedalen area. You also have a chance to take photos and listen to more stories while the group is together at the viewpoint.
The big payoff is the mix of scale and contrast: a famous rock shape framed by snowy mountain walls, with frozen features nearby and the glacier far off when visibility is good.
Gryteskar and the view payoffs that keep you going
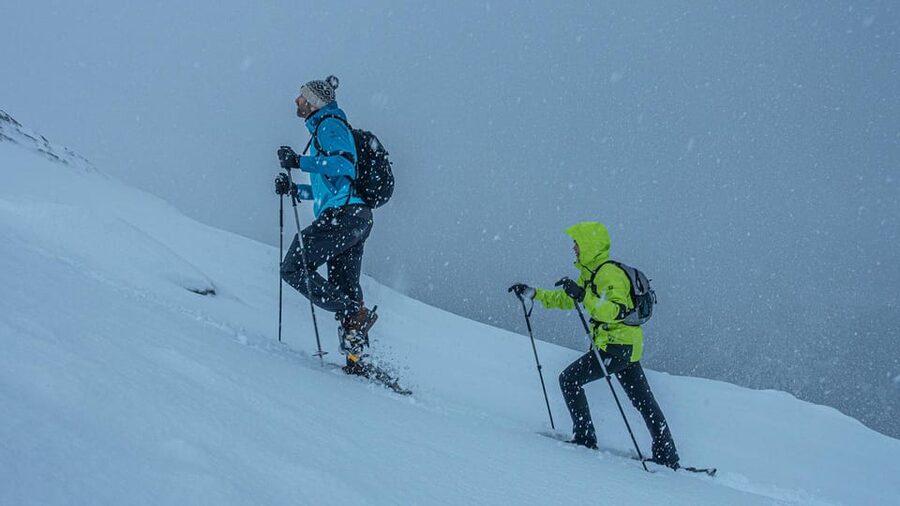
Gryteskar is the part most people feel immediately. It’s the steepest uphill, and it sets the tone for the whole day. I’d treat it like a workout interval, not a sprint. Winter traction is real, and snowshoes plus an incline means you work even when your brain thinks you should be able to chat.
What makes Gryteskar worth it is what comes after. Once the steep grind is out of the way, the terrain relaxes into easier travel. That’s when the views stop being background and start becoming your goal.
On this winter route, you get:
- Snowy mountains with changing formations as wind and light shift
- The Ringedalen valley with steep walls and frozen waterfall areas
- Wind-carved patterns on snow, which look different from one stop to the next
The other thing I appreciate is the way breaks are used. You are not just pausing because you’re tired. You’re pausing at useful moments, and the guide gives advice so you can keep energy for the final push to Trolltunga.
If you like photos, the guide can also save you time. Instead of guessing where the best angles might be, you get pointed toward photo spots while the group is at the right place and the light is still workable.
Trolltunga in winter: what you’re actually chasing
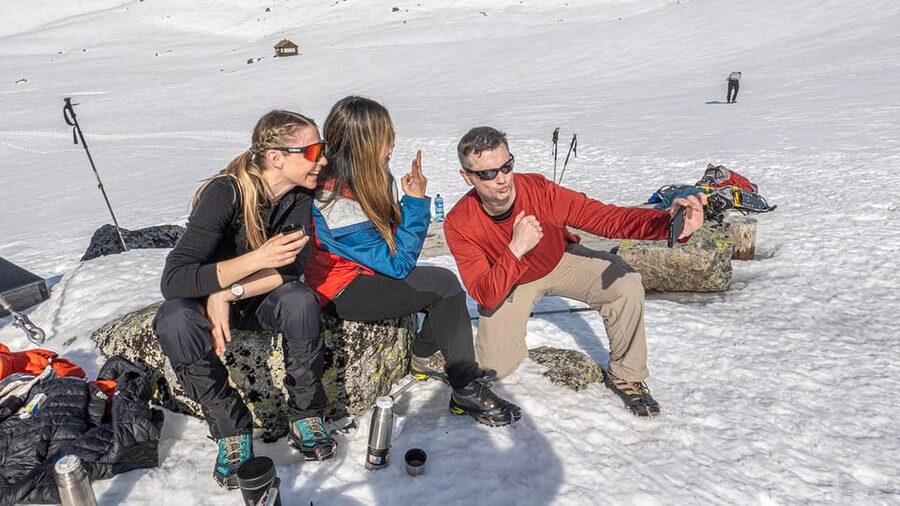
Trolltunga is famous because of its striking rock shape, but in winter it feels more theatrical. The formation sits above the winter “Lake of the Rings” area, and when the weather cooperates you can see the Folgefonna glacier in the distance.
Two things make the winter viewpoint special:
- The contrast. Snow covers everything and softens the ground texture, so the rock stands out even more. That’s why winter photos can look so dramatic, even on an overcast day.
- The sense of depth. From Trolltunga, the background is not just more mountains. You can see the wider valley and, with clear sightlines, a glacier far away. It gives you geographic context for the effort you put in.
This is also where the guide’s storytelling helps. The trip is not only walking. You get local nature and history information while you’re there, so the final minutes are more meaningful than just snapping a few pictures and moving on.
And yes, it’s still winter. Wind and cold can be intense at the exposed viewpoint, so you’ll want gloves on, layers closed up, and a camera ready without turning your hands into ice blocks.
Getting moving safely: snowshoes, micro spikes, and winter gear reality
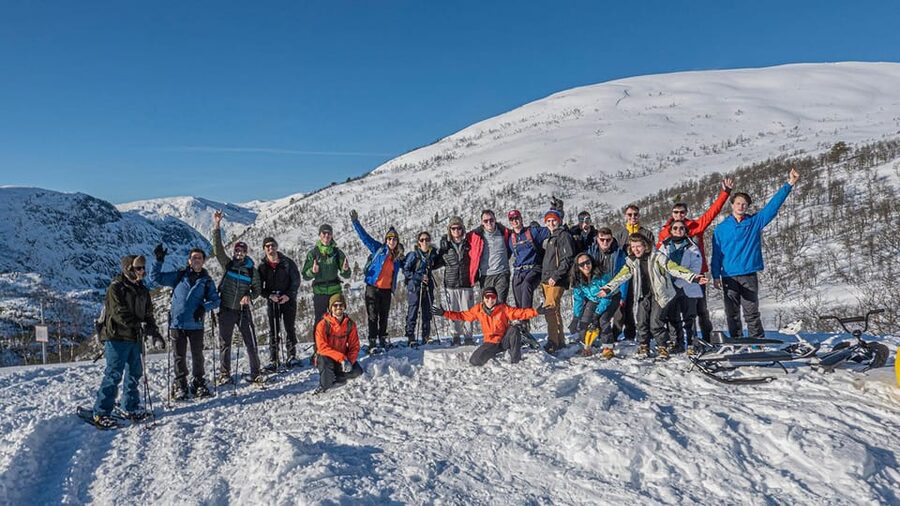
This tour is safety-focused in a very straightforward way. Your guide carries safety and first aid equipment, and you get a briefing that covers weather and winter hiking safety. That’s not fluff. In Norwegian winter conditions, weather can change quickly, and you do not want to guess your way through ice.
You may use micro spikes or snowshoes, depending on conditions. The good part is that you are not left alone with the decision. Gear rental is available if needed, and you’re checked for readiness at the start.
What I’d pay attention to with gear
Even when you get the snow gear, you still control comfort and mobility. Based on the tour’s requirements, plan for:
- Layers, not one huge jacket. Cold air plus exertion means you’ll need to adjust.
- Avoid cotton for base layers. Wet cotton chills fast in real winter conditions.
- Water and snacks. This is a long hike, and you will need energy to keep moving steadily.
- A head lamp. Winter days can be short, and it helps for emergencies and timing.
- Goggles or sunglasses. Snow glare is strong, especially if wind adds more whiteout moments.
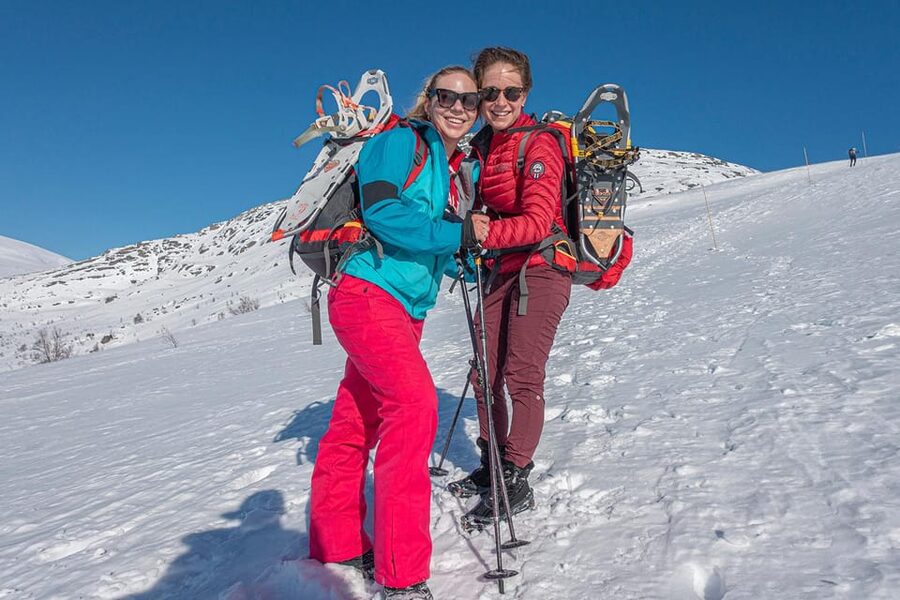
Also, pack smart. The tour notes that you should leave space in your backpack for micro spikes and make sure you can strap snowshoes onto it if you bring your own backpack. That kind of detail matters when you’re already dealing with cold hands and bulky equipment.
Fitness and comfort check
The tour is not aimed at beginners. It is not suitable for people with heart problems, pregnant women, people with vertigo, or people afraid of heights. Low fitness level is also called out.
If any of those apply, don’t force it. Winter traction and long hours can amplify stress quickly.
The snowracer finale: why the last hour feels like a reward
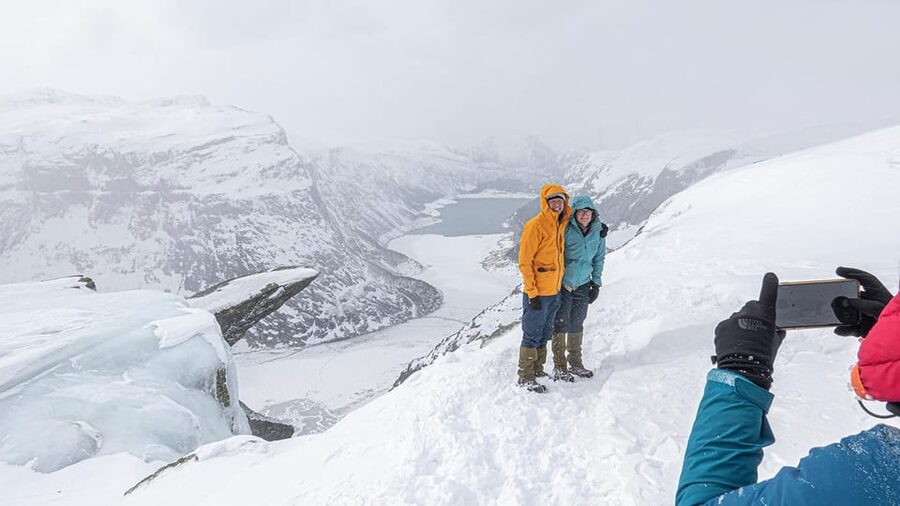
The best part about the end of the day is that it is not just “walk back and hope for the best.” You get an actual fun finish.
After the hike back, you use a good snowtrail that makes the return easier and mostly downhill. That’s when your legs start to feel grateful instead of angry.
Then comes the highlight: a snowracer ride from P3 to P2. It’s a controlled slide on a sled-like track, and it turns the day’s effort into a momentum shift. This is the part that tends to stick in your memory, because it’s pure winter play without requiring extra hiking stamina.
Even better, on some days you might get a sunset walk down Gryteskar during the return. You cannot count on it, but it’s a nice thought for planning your timing and keeping your camera warm.
Price and value: is $194 per person worth it?
At about $194 per person, the value comes from what’s included, not just the fact that it’s guided.
Here’s what you get inside that price:
- A professional guide and instructor with safety and first aid equipment
- Hiking poles
- Micro spikes or snowshoes if needed
- Guides help with photos during the entire tour
- Nature and history information
- Free transport to the meeting point if you’re staying at the partner Trolltunga Hotel (or if transport is part of your accommodation there)
- The snowracer return from P3 to P2
Meals and drinks are not included, so you’ll need to plan your own food strategy. That said, the tour gives very clear guidance on how much to bring, including at least double your normal day food. In winter, that instruction is practical, not annoying.
To judge whether it’s “worth it” for you, ask this: do you want a guided winter route with safety support, gear help, photo assistance, and a snowracer finish? If yes, the price starts to make sense. If you prefer self-guided hiking and you already have winter experience, gear, and route comfort, you might feel the cost more.
Who should book this winter Trolltunga snowshoe hike?
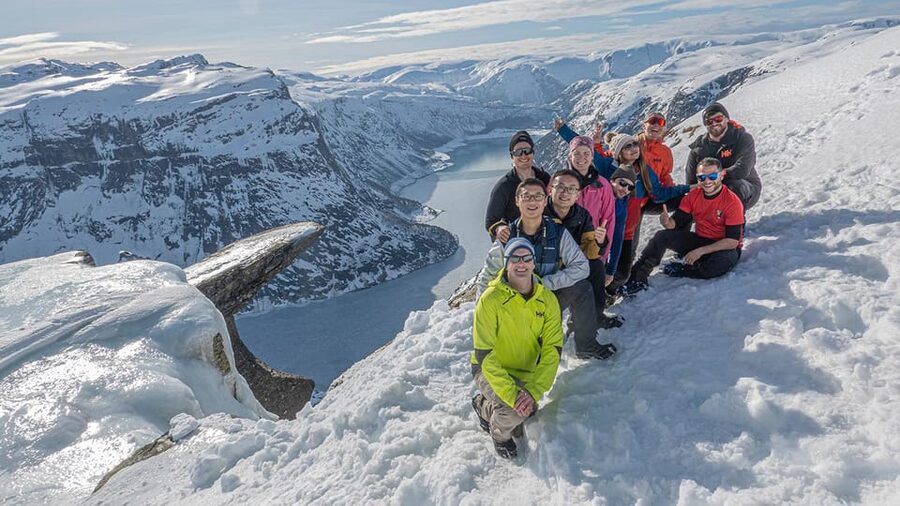
This is a strong fit if you:
- Want a guided winter hiking experience with clear pacing and safety support
- Prefer learning about local nature and the area around Trolltunga while you walk
- Like photography, especially with guidance on where to stand for the best views
- Are comfortable with a long winter day and can handle a steep uphill section (Gryteskar)
It’s not a fit if you:
- Are afraid of heights or have vertigo
- Have heart problems
- Are pregnant
- Struggle with low fitness for a long cold hike
If you are unsure about your fitness, be honest about the climb and the 10 hour time commitment. This is not a short walk in snow. The structure works, but you still need stamina.
Weather and timing: how to avoid a miserable winter day
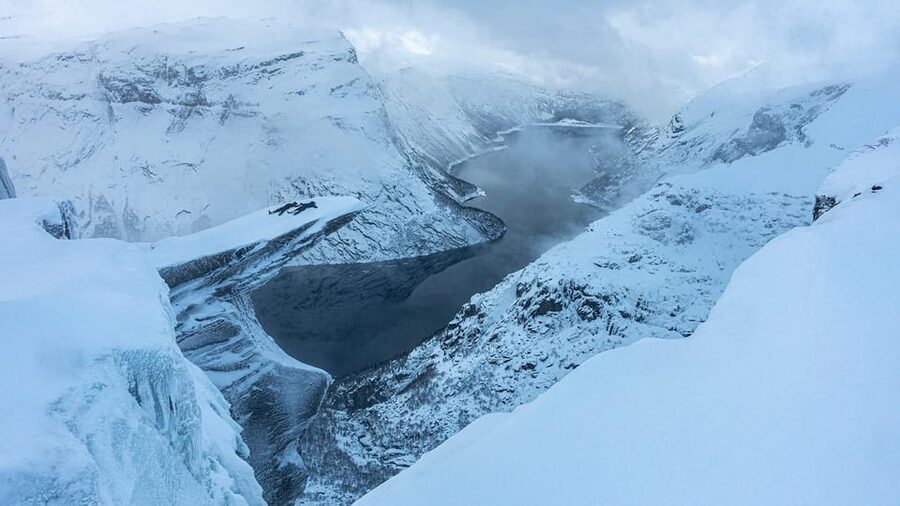
Norwegian winter weather is unpredictable. It can change fast, and that is why the briefing and guide decision-making matter. You should treat the day as weather-dependent, even though you’re set to start at 7:30 AM.
The simple readiness checklist
Do what the tour advice pushes you toward:
- Check weather conditions before departure
- Dress in layers you can adjust quickly
- Bring enough food, with energy snacks you’ll actually eat cold
- Carry about 2 litres of water, and consider hot water in a thermos if you like
- Keep your phone fully charged for emergencies
- Protect your eyes with sunglasses or goggles
Most importantly, stay hydrated. In cold weather you can feel less thirsty, but your body still needs fluids.
Should you book Trolltunga Active’s winter hike?
I’d book this if you want a guided, safety-first winter route that finishes with something genuinely fun, the snowracer ride back. The day is long, but the structure helps. You get the early start, a manageable progression into snow travel, real view payoffs, breaks built into the route, and guide help with photos and photo spots.
Skip it if you do not meet the suitability limits, especially heights and vertigo. Also skip it if you tend to struggle on steep, cold, traction-based climbs for long stretches.
If you’re the type who likes winter hikes that feel earned, not rushed, this is a smart bet for Odda in winter.
FAQ
How long is the Trolltunga winter snowshoe hike?
The duration is about 10 hours.
What time does the tour start?
The tour starts at 7:30 AM.
Where do we meet for the hike?
You meet at the Trolltunga Active store, building next to the P2 parking in Skjeggedal.
Is there an English-speaking guide?
Yes. The live tour guide speaks English.
What is included in the price?
Included are a professional guide and instructor with safety and first aid equipment, hiking poles, micro spikes or snowshoes if needed, guided photo help, information about local nature and history, free transport to the meeting point if you are staying at the partner Trolltunga Hotel (when transport is part of the accommodation), and the snowracer return from P3 to P2.
What should I bring with me?
Bring warm clothing, a camera, food and drinks, snacks, hiking shoes, sunscreen, and water. The tour also recommends sturdy waterproof winter hiking boots, wool socks and spare socks, a wool base layer (not cotton), a warm mid layer, a wind and waterproof shell jacket and pants, gloves or mittens (plus a spare pair), beanie or headband, sunglasses or goggles, a head lamp, and a backpack around 40 litres.
Is transport included from the partner Trolltunga Hotel?
Yes, free transport to the meeting point is included if you are staying at the partner Trolltunga Hotel, or if transport is part of your accommodation at that hotel.
More Trolltunga Hikes
- Odda: Full-Day Trolltunga Via Ferrata & Sky Ladder Adventure
★ 4.8 · 115 reviews - Trolltunga: Trolltunga Sunset Glamping
★ 4.9 · 15 reviews - Trolltunga Helicopter & Waterfalss Sightseeing From Bergen
★ 5.0 · 3 reviews - Trolltunga Classic Overnight Hike
★ 5.0 · 336 reviews
Freshly reviewed in Bergen
- Eidfjord Guided tour Vøringfossen Waterfall & National Park★ 4.5 · 147 reviews
- Private Cruise: Mostraumen by Zodiac or Lux Pontoon Boat★ 5.0 · 163 reviews
- Whitewater Rafting Grade 3 to 4★ 5.0 · 204 reviews
- Food and Culture walk★ 4.5 · 243 reviews
- Bergen: Mostraumen Fjord Cruise★ 4.0 · 272 reviews
- Discover Bergen on Foot and Boat★ 5.0 · 300 reviews
- Bergen Day Tour to National Park Folgefonna and Glacier Lake★ 5.0 · 408 reviews
- City Walking Tour – Bergen On Foot★ 5.0 · 436 reviews
Hiking & Trekking, compared.
Guided Husky Snowshoe Hike and Husky Camp Visit
Read our review →
Preikestolen (Pulpit Rock) Hike with Local Guide
Read our review →
Browse the lists this tour appears in