
Reviewed · CANOES & KAYAKS
Nigards: Kayaking and Glacier Hike
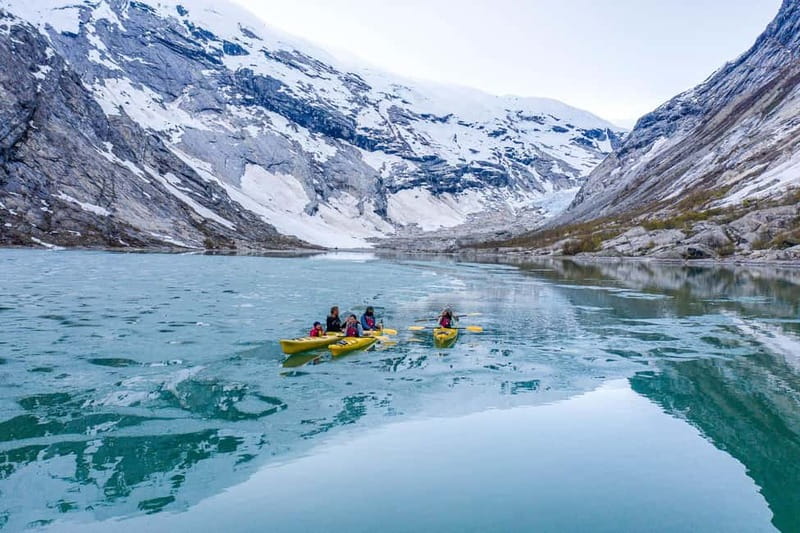
If you like tours that feel both adventurous and grounded in real nature, this one has a great hook: kayaking on Nigardsbrevatnet right in the Jostedal area, then walking onto Nigardsbreen. You get that quick hit of movement on the water, followed by the slow, spellbinding payoff of glacier terrain.
I especially like the way the day is built around gear and guidance. You’ll put on crampons and rope for a proper glacier walk, and your English-speaking guide can explain how glaciers work and how this landscape has changed over time. One consideration, though, is that you are responsible for your own driving, since you’ll follow the route by vehicle from the meeting point to the glacier and you still have to handle the 90 kr toll.
Key Highlights You Should Know Before You Go
- Nigardsbrevatnet paddle time that’s long enough to feel real, not just a splash for photos
- Glacier briefing before stepping on ice, so you understand what you’re looking at
- Crampons and rope provided, making the glacier walk more approachable
- Two hours on the glacier for a slow pace, lunch, and picture stops
- Small group limit of 9, which usually means more attention for safety and questions
- English instruction with guide-focused storytelling about glaciers and local history
Why This Nigardsbreen Kayak and Glacier Hike Combo Works
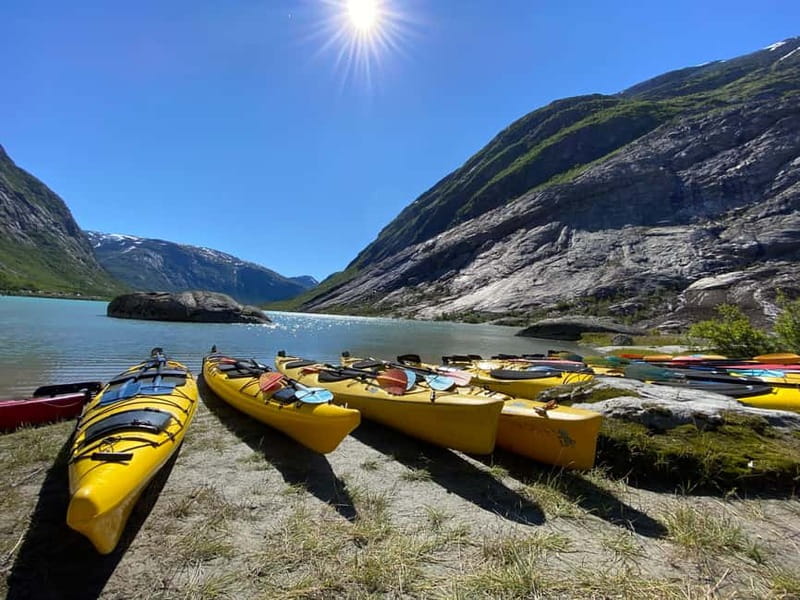
This is not just a glacier tour, and it is not just a kayak trip. The value is in how the two parts talk to each other. On the lake, you feel the cold, open space around Jostedal. Then you go to the glacier and suddenly everything you saw from the water makes more sense.
I like that the format keeps you moving, but not rushed. The day starts with a short paddle, then you transition to the glacier approach. Once you’re on the ice, you get a real block of time to explore at your own pace for about two hours. That matters, because glacier walking is not a sprint. It’s better when you can pause, look closely, and understand what you’re stepping on.
You’ll also get repeated guided moments. There are brief safety segments before kayaking and before the glacier walk. And when you’re actually hiking up, your guide talks through how glaciers function, where they have been, and the local context that helps the whole experience feel more than just dramatic scenery.
Meeting at Labben, Following the Vehicle, and the 90 kr Toll
Most people miss the most important logistical detail on days like this, so let’s get it out of the way: transportation to the glacier is not included. You meet at Labben (The Lab), check in inside, then you follow the Icetroll vehicle to the lake and glacier area.
That means two things for you. First, make sure your plan has enough fuel and charge to do the drive and return, since you will not be dropped off by the tour company at the start. Second, plan for the toll fee of 90 kr on the way. They accept cards or coins, so you do not need to guess.
If you arrive a little early, Labben can help you get sorted. They sell coffees and warm or waterproof clothing if you need it. That is useful in Vestland, where weather can turn the comfort dial fast, even when the forecast looks calm.
The 15-Minute Safety Briefing That Sets the Tone
Before you touch water, you get a safety briefing. It’s only about 15 minutes, but don’t treat it as filler. Kayaking in a glacial setting means you need to know how the group will stay together, how to handle basic movement, and what to do if something feels off.
In a small group setting, safety guidance also becomes a pacing guideline. When you understand what the guide expects, you spend less mental energy worrying and more time enjoying the view and the feel of the paddle.
Also note the group size: this runs as a small group limited to 9 participants. Fewer people usually means the guide can keep eyes on everyone and adapt instructions if you’re calmer, quicker, or less experienced.
Nigardsbrevatnet Kayaking: 30 Minutes of Real Water Time
The first active stage is a 30-minute kayaking segment on Nigardsbrevatnet. This is short enough that beginners are not overwhelmed, but long enough that you actually get into a rhythm. The water is part of the story. You’re surrounded by the Jostedal glacier environment, and it’s a nice way to warm up mentally for what’s coming next.
You’ll also get those classic photo moments without needing to scramble. From the water, it’s easier to frame the glacier world in a way that feels natural rather than staged.
One practical tip: dress for cold spray and wind, not just for temperature. Even on a sunny day, kayaking can feel colder once you’re moving. Bring the warm layers you would normally save for later, and wear sunglasses if you have them.
Walking to Nigardsbreen: How the Guide Makes the Ice Make Sense
After the lake segment, you transition to the glacier approach. There’s another 15-minute safety briefing before you head into the glacier portion.
Then the tour shifts into explanation mode, but in a useful way. On the hike up to the ice, your guide covers:
- how glaciers work
- where glaciers have been
- local history connected to ice and melt
That guided storytelling is exactly what turns the day from sightseeing into understanding. Without it, a glacier can feel like just a big white mass. With it, you start noticing details like changes in texture, the feeling of slope and terrain, and why certain areas look different.
Expect a short walk that sets you up for the equipment stage. It’s not described as a long march, but it does help you get your legs ready for uneven ground.
Crampons, Rope, and the Glacier Walk Setup
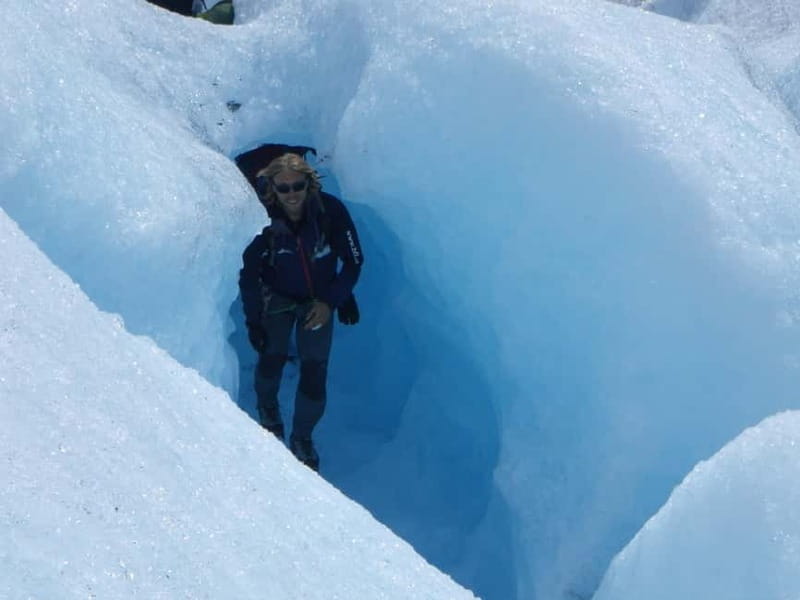
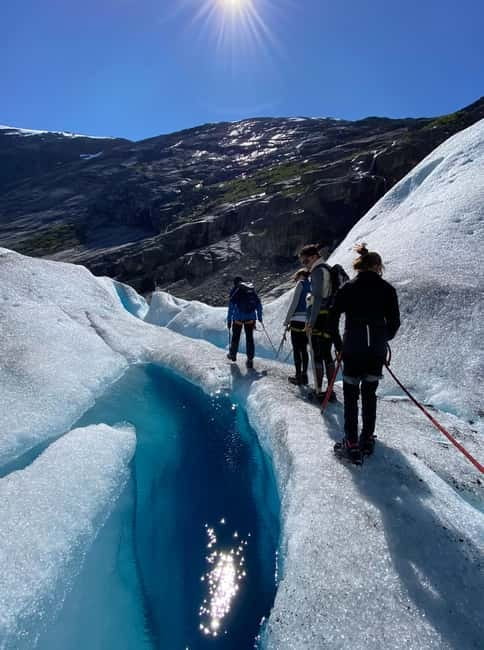
Once you reach Nigardsbreen, you switch into glacier gear. You’ll put on crampons and rope for the glacier walk, and that equipment is part of the reason this tour can work for a wide range of visitors.
Crampons matter because the surface is not like a hiking trail. The guide’s job is to help you place your feet correctly and move safely on ice. The rope is there for added security and group control.
Two things to remember as you step in. First, your balance is the main skill, not speed. Second, your job is to listen to the guide instructions the same way you would in a museum, but with better boots. If you stay calm and consistent, everything gets easier.
Two Hours on the Ice: Lunch, Photos, and Your Own Pace
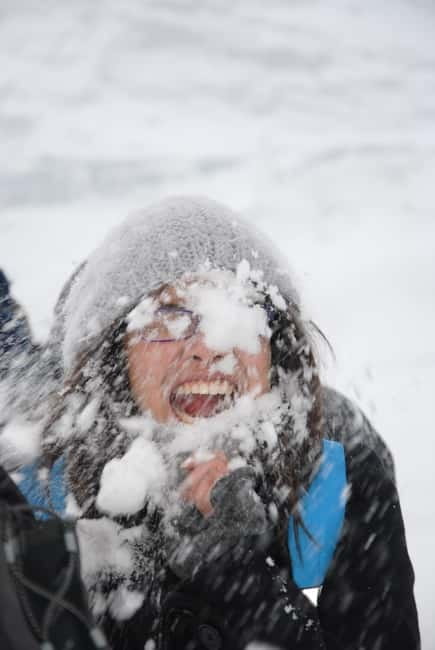
Here’s the big payoff: about two hours exploring the glacier, with time for lunch. You must bring your own lunch, so treat that as part of the plan, not an afterthought.
This is where the timing makes sense. If you only had 30 or 60 minutes on the glacier, it would be hard to do anything except watch your feet. Two hours gives you enough room to:
- settle into the terrain
- pause for photos without feeling rushed
- eat lunch in a setting that most places can’t imitate
Photo opportunities are a selling point for this tour, and you can see why. From the glacier, you can frame both the ice formations and the surrounding area in a way that feels real, not like a postcard.
Dress for the fact that your lunch spot might also be your chill zone. Even with sun, glacier air can feel sharp. Bring warm layers you can actually use for 20 to 30 minutes sitting still.
The Return Walk and Kayak Back to the Boats
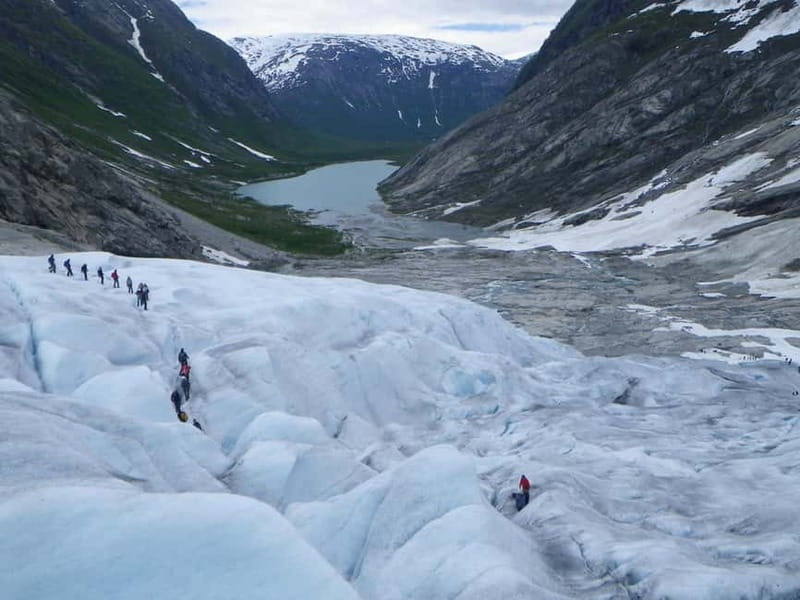
After your glacier exploring time, you do a shorter walk back that takes about 45 minutes. Think of this as a transition period. You’re coming down from the ice focus back to normal trail rhythm and getting your legs back under you.
Then it’s back to the water for the final kayaking return of about 30 minutes toward your vehicles. This last paddle is a nice landing for the day. It helps you process what you saw on the glacier while you have a little motion to shake off stiffness.
You’ll say goodbye after the paddle as you head back to your meeting area. The flow is simple, which is what you want on a day with cold gear and lots of guidance.
What I’d Watch For: Guide Style and Group Energy
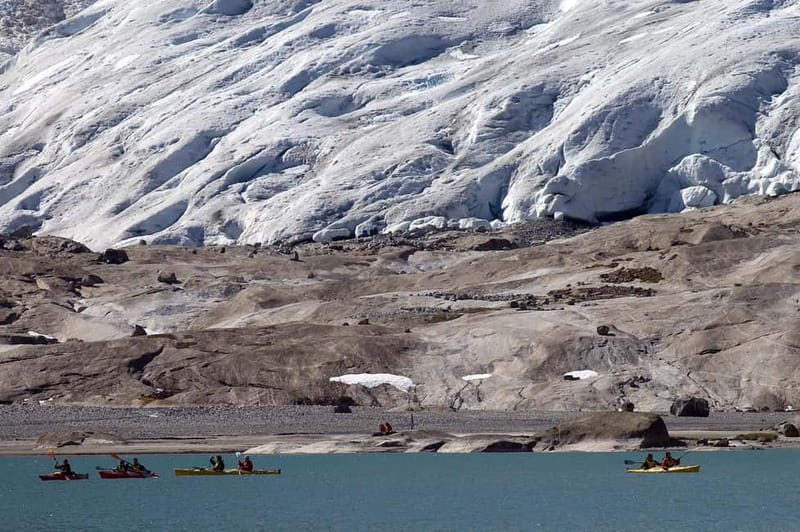
Most of what stands out is how professionally the experience gets delivered when the guide is dialed in. You’ll see this in the way guides explain glaciers clearly, check safety often, and help the group stay together.
That said, guide style can make a difference in how comfortable the day feels. One participant described a more tense interaction during the kayaking portion, including the sense of being left behind and receiving harsh coaching when things went wrong. They also said safety support felt insufficient.
So here’s my practical advice. When you check in at Labben, ask one simple question about pacing and group support, like how the guide handles slower paddlers. If you prefer calm coaching, saying that out loud early is never a bad idea.
In general, the small group size helps here. With up to 9 participants, the guide has less chaos to manage, and that can translate into smoother attention.
Price and Value: Is $157 per Person Worth It?
At $157 per person for a 6-hour experience, you’re paying for three things that aren’t cheap in Norway: guided instruction, specialized safety gear (crampons and rope), and meaningful time in both kayaking and on-foot glacier terrain.
You’re also paying for a guide-led glacier explanation. That’s not just a walk to a viewpoint. You’re learning how glaciers work, where they’ve been, and what to look for while you’re actually on the ice.
The two places where value can shift for you are:
- Transportation is not included, so you need to handle the drive yourself
- You bring lunch, which means you need to plan a little food prep
If you live in the area or are already driving nearby, this price can feel like a fair trade for a rare day activity. If you’re staying far away and need extra logistics, factor that cost in before you decide.
What to Bring so You Don’t Feel Miserable
You’ll enjoy the day more when you dress for cold, wind, and wet conditions. The essentials are:
- Warm clothing
- Rain gear
- Sunglasses and a hat (a warm hat is strongly recommended)
- Hiking shoes (you need grip and comfort)
- Water and snacks
- Outdoor clothing that can handle damp weather
- Your own lunch for the glacier break
Also think about hands and ears. The tour includes kayaking time and time on ice. Even if you feel fine standing around, cold can hit fast when you’re moving less.
No pets are allowed, and smoking is not allowed. That’s straightforward, but plan your day around it if you’re coming with family and friends.
Who This Tour Fits Best, and Who Should Skip
This trip is not suitable for children under 8. It’s also not suitable for people with mobility impairments, since you’ll be moving on glacier terrain with specialized gear.
On the positive side, it’s described as family-friendly for some ages during May and June. That suggests the pace and format can work for families when kids are old enough and comfortable with outdoor safety rules.
English instruction is available, and the tour is built for a small group. If you like questions, this is the kind of activity where you’ll get answers naturally because you’re out of your normal travel routine and asking about the ice while standing near it.
Should You Book Nigards Kayaking and Glacier Hike?
Book it if you want a half-day that feels active, educational, and visually powerful. The combination of kayaking on Nigardsbrevatnet plus a guided Nigardsbreen glacier walk is a strong use of time in Jostedal, especially when you want more than a quick photo stop.
Think twice if:
- you do not have an easy way to handle the drive to the glacier and back
- you have trouble with uneven terrain and cold outdoor conditions
- you’re expecting a relaxed, flexible pace with lots of waiting, because glacier safety and group rhythm matter
If you’re prepared with warm layers and you show up ready to listen and move steadily, this is the kind of day that makes Norway feel real fast. You’ll leave with more than pictures, you’ll leave with an understanding of how this ice environment works.
FAQ
How long is the Nigards kayaking and glacier hike?
The total duration is about 6 hours.
Where do I meet the guide?
You meet at Labben (The Lab). Check in inside and meet your guide there.
Is transportation included to the glacier?
No. You follow the Icetroll vehicle in your own vehicle from the meeting point to the lake and glacier area.
What does the $157 price include?
Included activities are the kayak trip and the glacier walk, along with a guide and the crampons and rope used for the glacier walk.
Do I need to pay a toll fee?
Yes. A toll of 90 kr is required on the way, and cards or coins are accepted.
Do I need to bring lunch?
Yes. Lunch is not included, so you need to bring your own lunch for the glacier break.
What language is the instruction in?
The instructor and guide provide English.
How big is the group?
This is a small group limited to 9 participants.
What should I bring and wear?
Bring warm clothing, sunglasses, a hat, snacks, hiking shoes, water, rain gear, and outdoor clothing. A warm hat is strongly recommended.
Is the tour suitable for young children or mobility impairments?
No. It is not suitable for children under 8 or for people with mobility impairments. Pets are also not allowed.
More Kayaking in Jostedal Village
- Tromsø: Winter Sea Kayaking Tour with Wildlife Sightings
★ 4.9 · 591 reviews - Eggum: Lofoten Islands Midnight Sun Kayak Tour
★ 4.9 · 322 reviews - Stavanger: Guided Kayaking in Lysefjord
★ 4.9 · 200 reviews - Geiranger: Guided Kayak Tour in Geiranger Fjord
★ 4.7 · 192 reviews
More Glacier Hikes in Jostedal Village
- From Bergen: Folgefonna National Park & Glacier Lake Tour
★ 4.9 · 589 reviews - Olden Shore Excursion: the Amazing Briksdal Glacier
★ 4.5 · 431 reviews - Bergen Day Tour to National Park Folgefonna and Glacier Lake
★ 5.0 · 408 reviews - From Olden: Briksdal Glacier Guided Hiking Shore Excursion
★ 4.5 · 123 reviews
Canoes & Kayaks, compared.
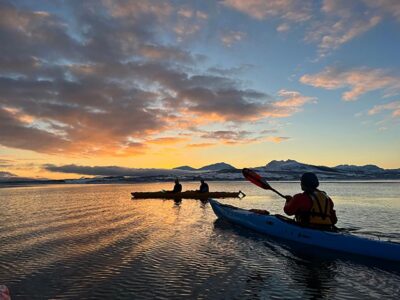
Winter Sea Kayaking Tour with Wildlife Sightings
Read our review →
Eggum Lofoten: Kayaking Tour in Lofoten with Snacks
Read our review →
Browse the lists this tour appears in