
Reviewed · LOFOTEN
Lofoten Islands: Guided Hiking Into the Wilderness – Uphill
This guided uphill hike in the Lofoten Islands is interesting because you start right near the sea and then steadily work your way up into big, clean mountain views. What I like is that it feels personal and practical, not showy, with a local nature guide who helps you read the terrain. You also get real weather lessons fast, since the route can shift conditions as you climb.
The two best parts for me are the sense of safety and the way the guide keeps the hike moving at the right pace. If you get a guide like Paul, you can expect a friendly, accommodating approach plus time for photos when you want them. The one clear drawback: this is intermediate and uphill, and it is not suitable for kids under 12, people with low fitness, or anyone with heart problems.
Key points before you go
- Sea level to 550 m: you get a real climb, not just a stroll.
- A safety briefing first: you start with a 15-minute orientation so you know what to expect.
- Small or private groups: you will feel more flexible on breaks and pacing.
- Guide-led wildlife and culture talk: you are not hiking with your eyes only on the ground.
- Walking poles included: they help on the uphill and downhill sections.
- Bring waterproof layers: even in August, Lofoten weather can shift quickly.
Why This Uphill Wilderness Hike Makes Lofoten Feel Real
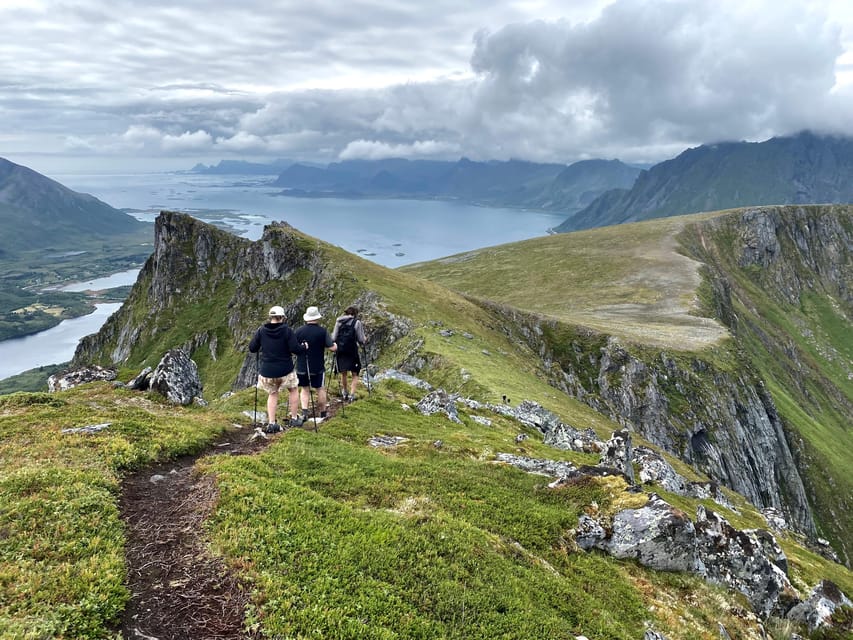
The Lofoten Islands are famous for dramatic scenery, but the magic here is how you earn it. You begin at Gimsøystraumen, then work uphill from near sea level to about 550 m above sea level. That change in elevation gives you a strong sense of place, because the views open gradually as your effort builds.
What makes this hike especially appealing is that it is not just about reaching a summit. The guide helps you slow down, look around, and connect the land with local nature and culture. The experience is described as calm wilderness hiking, with up-close views of flora and fauna, and a focus on learning along the way. In other words, you get movement and meaning in the same outing.
Still, go in with the right expectations. This route is described as intermediate and uphill, meaning it is for hikers who want a workout. If you prefer flat walks or short, low-effort sightseeing, you might end up feeling underpowered instead of energized.
More of Lofoten:
- Lofoten: Half Day Snowshoe Tour
★ 4.9 · 16 reviews - Lofoten Islands: Guided Snowshoeing Tour – Uphill version
★ 5.0 · 8 reviews - Lofoten: First Time Scuba Diving Experience
★ 4.8 · 4 reviews
Getting Oriented: Gimsøystraumen, the Red Building, and a 15-Minute Safety Brief
Meet at the Gimsøystraumen rest place, in the large parking area overlooking the Gimsøya bridge. You meet the guide at the red building. This is the kind of meeting point that works well in Norway, because it is easy to spot and close to the outdoor start of your day.
Before you move, you get a 15-minute safety briefing. This matters more than it sounds. When weather changes quickly, and when you are climbing higher, you want to understand the plan for footing, layers, and pacing. A good guide also helps you avoid the classic beginner mistake of going out too fast and then paying for it later.
English is available, and the guiding style is geared toward keeping the group comfortable. Even better, the tour can be arranged as private or small groups, so you are less likely to feel shuffled along with people who hike a totally different pace than you do.
The Climb to the Mountain Top: What the Main 2.5 Hours Feels Like
Plan on about 2.5 hours of hiking for the main climb. Your total time on the tour is roughly 3.5 to 4 hours, depending on break frequency and the fitness level of the team. That range is useful because it tells you something honest: you are not on a strict timer where everyone has to suffer the same way.
You start from sea level, then gain altitude as you hike. That means your legs get the workout early, but it also means the scenery tends to build with you. The higher you go, the more the view starts to read like a map of islands and coastline.
This is also the section where a guide can genuinely improve your experience. A good pace helps you stay steady on uneven ground, and it makes photo stops easier instead of interrupting your breath. In at least one case, the guide slowed down for more challenging bits and for photos, which is a great reminder: in Norway, the best photo timing is usually when you are not fighting your lungs.
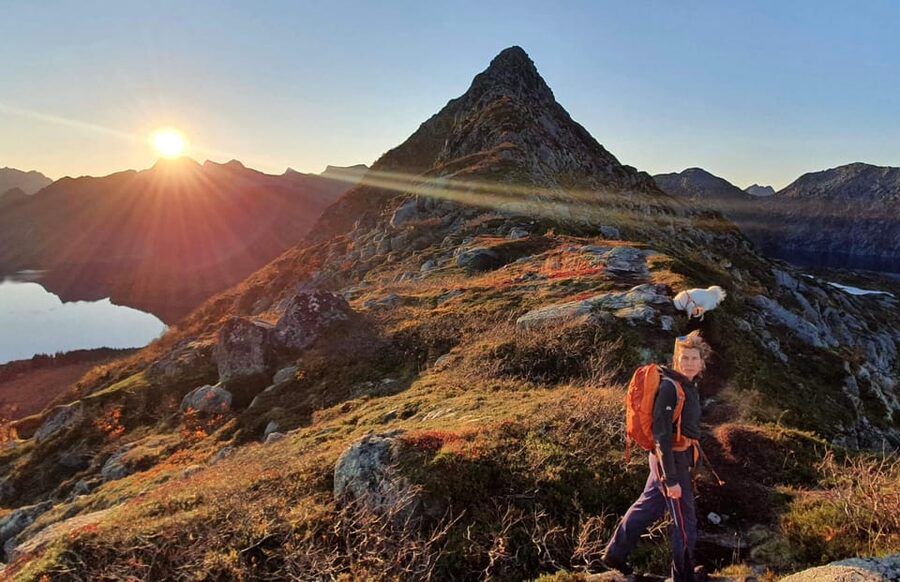
One more detail to keep in mind: some hikers describe the route as straightforward and in good condition, and they note there are not exposed sections. That is the kind of factor you should care about. If you want dramatic views without technical climbing, a well-maintained trail plus poles can make the difference between enjoyable effort and unnecessary stress.
Break Time and Photo Stops: The 20-Minute Reset at the Middle Point
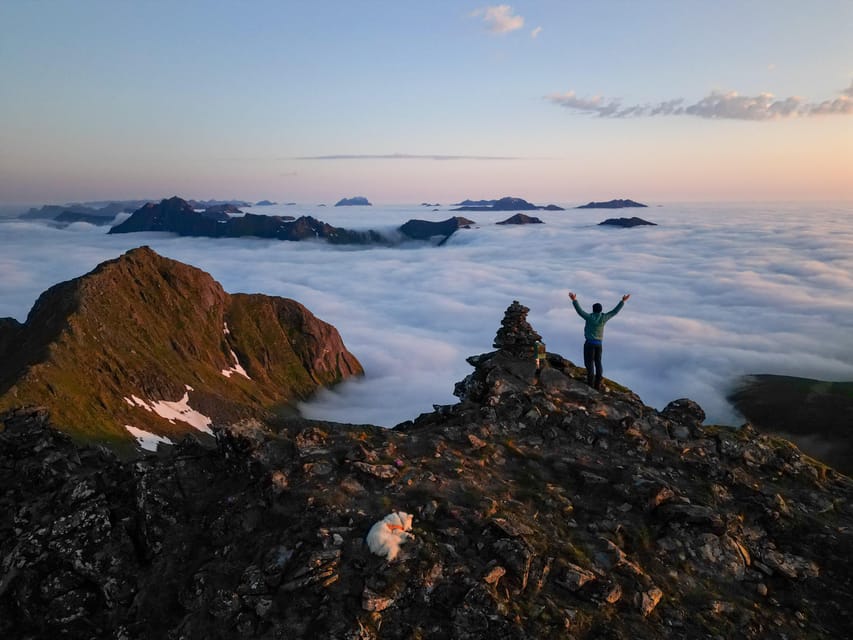
After the first hiking stretch, you get about 20 minutes for a break and photo stop. This timing is practical. You have already done the work of climbing, so you can drink water, eat something, and check the sky before pushing further.
I like breaks like this because they keep you from turning the whole day into a nonstop march. On an uphill hike, that mindset keeps your energy from spiking and then crashing. A mid-hike pause is also a good time to ask the guide quick questions, especially about what you are seeing in the plants and along the route.
Lofoten weather can swing fast, and the break is the moment to adapt. If you see clouds dropping visibility or wind picking up at the ridgeline, you can adjust layers right there instead of trying to fix it halfway through the final climb.
More hikes around Nordland:
- From Tromsø: Snowshoeing Hike with Picnic Lunch and Photos
★ 4.9 · 840 reviews - From Tromsø: Guided Husky Snowshoe Hike and Husky Camp Visit
★ 4.9 · 715 reviews
The Final 1.5 Hours: Staying Comfortable When Lofoten Weather Changes
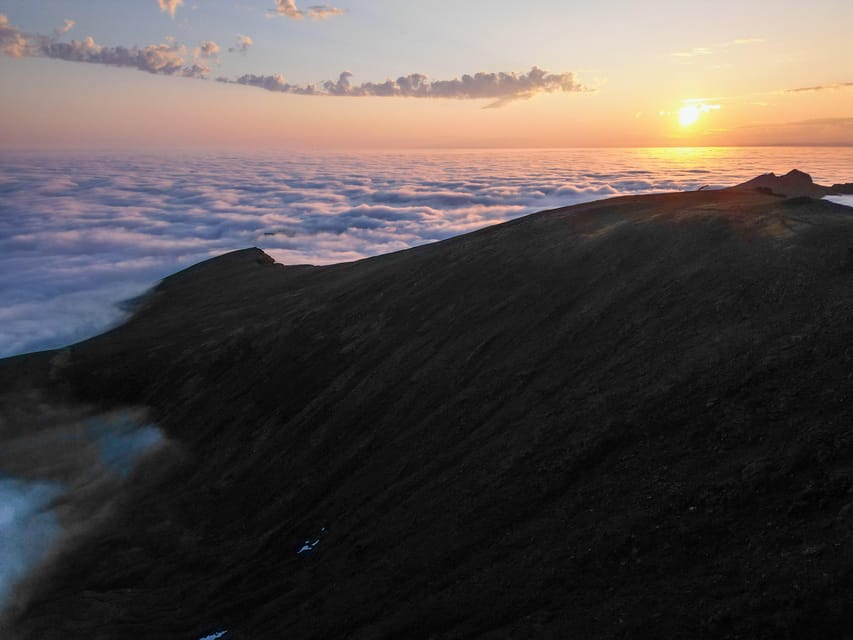
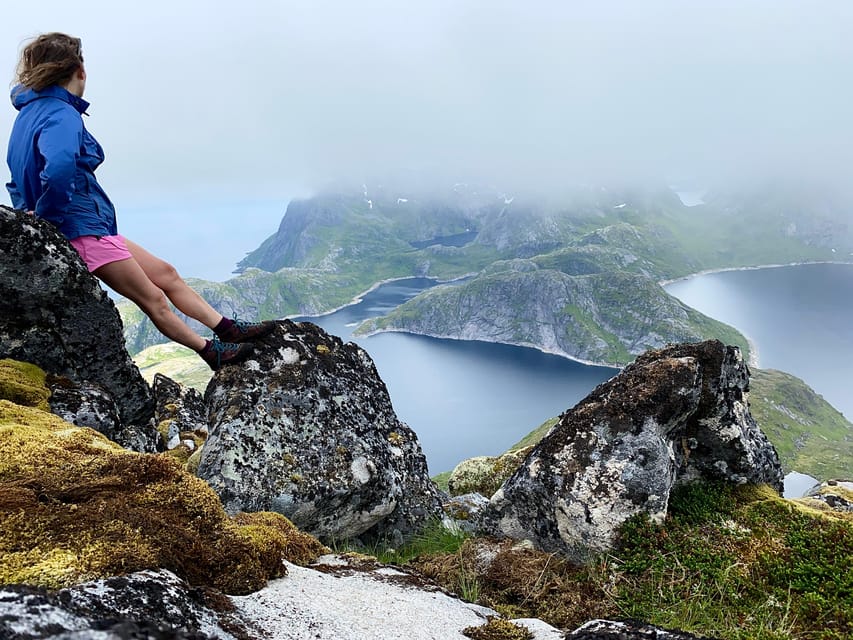
The last push is around 1.5 hours of hiking. This is when conditions tend to matter most. Even when you start with decent visibility, mountain weather can change quickly. One hiker described rain arriving after reaching the summit, but they handled it with the right gear: good trekking shoes and a waterproof jacket.
That matches how you should think about packing. Do not treat weather like a single moment. Treat it like a variable that can change while you are exposed at higher elevation. Wind and rain are not rare, even when the rest of the day looks promising.
What to do in the field is simple:
- Keep your layers accessible, so you can adjust without unpacking everything.
- Use waterproof outer layers when the wind picks up.
- Keep moving steadily, because stopping too long can make you feel colder.
Also, remember the tour is guided, so you are not left guessing. The guide’s job includes keeping the group safe as conditions shift, and giving you a route that fits the group’s fitness.
The Guide Matters: Safety, Pace, and Stories That Make the Walk Longer
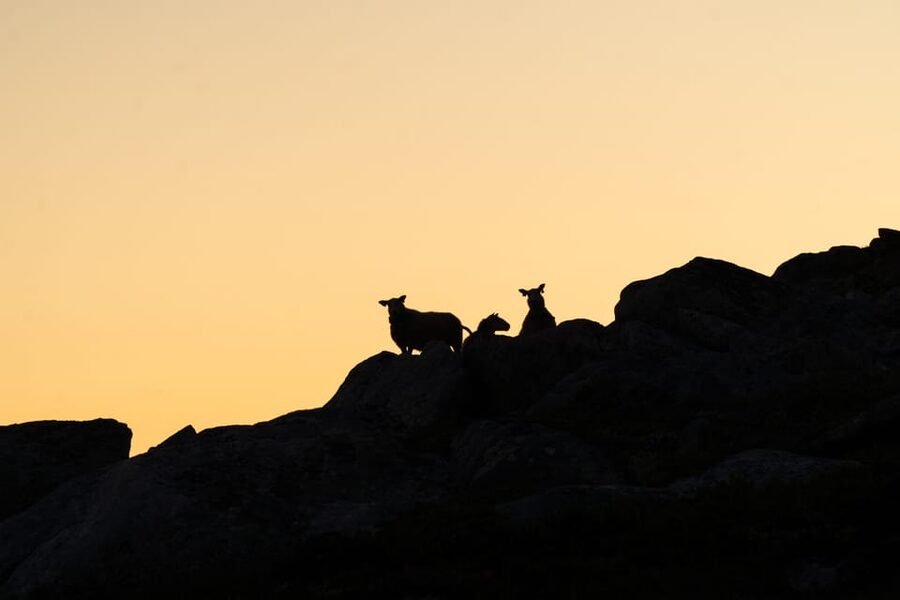
This is the kind of hike where a guide can turn a good walk into a memorable one. The highlights explicitly include learning about local wildlife and culture, and you feel that through how the guide talks during the hike, not just at the beginning.
One standout detail from a recent experience: Paul was noted as excellent, both for being strong on the hiking side and for sharing knowledge about Norway. That combination matters because it changes how you experience the trail. You stop viewing the route as only “time plus elevation,” and you start noticing it as a place with patterns, habits, and meaning.
You will also feel the guide’s approach in pacing. If the terrain gets challenging, a good guide slows the group down instead of forcing everyone to keep the same speed. In one account, the guide accommodated both the difficult parts and photo breaks. That is a real quality-of-life upgrade, especially on an uphill route.
One more human touch that I think you will appreciate: in at least one case, the guide brought a dog and checked permission first. It is a small detail, but it adds to the sense that you are joining a real local operation, not just lining up with strangers and moving on autopilot.
What to Bring for an Uphill Day: Boots, Layers, Water, and Snacks
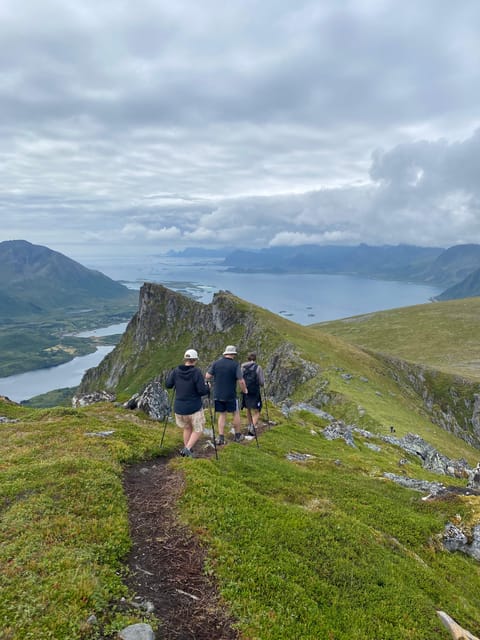
Bring comfortable hiking boots. This is nonnegotiable on an uphill trail where your footing matters and where you may be transitioning between drier and wetter patches.
For your daypack, plan on:
- A backpack
- A water bottle
- Snacks or a sandwich
- Extra layers
- Wind-and waterproof layers, especially for the peak area
- Rain gear
- Weather-appropriate clothing
- Hiking pants and outdoor clothing
One tip that really helps: pack like you might need to layer quickly. That means you want rain gear and an extra layer easy to access, not buried at the bottom of your bag. Hikers specifically noted that having a small backpack to dress in layers helped a lot when rain came in.
Also, bring your hiking mindset. On an uphill route, you want consistent effort. If your shoes are wrong, or your layers are missing, you will feel it fast. If you are set up right, the hike stays enjoyable and you can focus on views.
Included Gear: Walking Poles That Actually Help
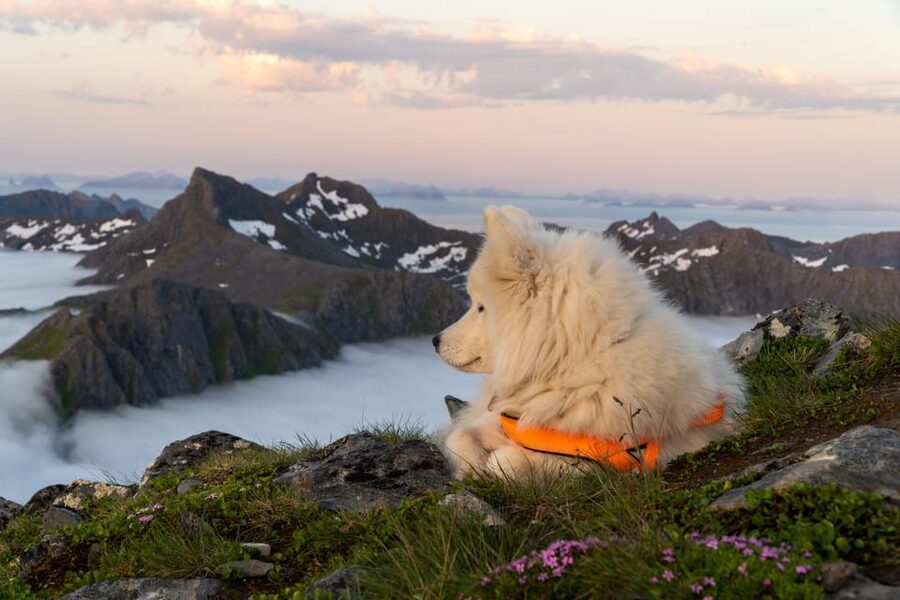
Walking poles are included. That is a strong value-add for this kind of hike, because poles reduce strain and improve stability when the trail tilts upward and downward.
You do not have to fight your legs for extra balance, and you can hike with a smoother rhythm. If you have never used poles before, this is a great chance to learn them in a guided setting, where the route and pacing are designed for intermediate hikers.
Fitness Reality Check: Intermediate Uphill Means a Workout
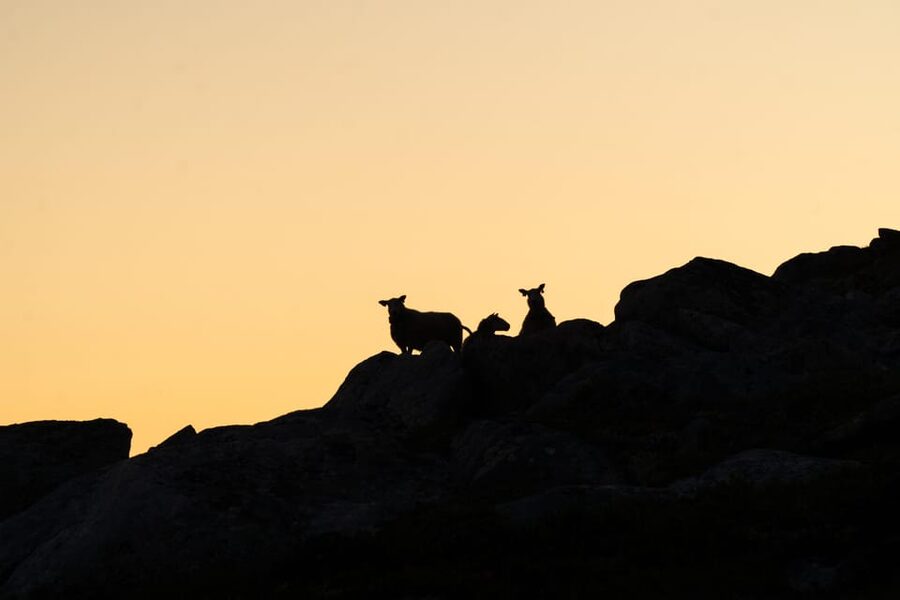
This hike is rated intermediate and described as uphill to a scenic mountain top. It is a good choice if you want a half-day adventure that still feels like exercise.
It is not suitable for:
- Children under 12
- People with heart problems
- Wheelchair users
- People with low level of fitness
If that describes you, you should choose a different style of hike. The key is not bravery. It is matching the route to what your body can handle today.
If you are an average hiker who can handle an uphill walk for a few hours, this should feel achievable. The combination of a guided pace, poles, and short breaks makes it more approachable than you might expect.
Price and Value: What $136 Gets You in the Lofoten Wilderness
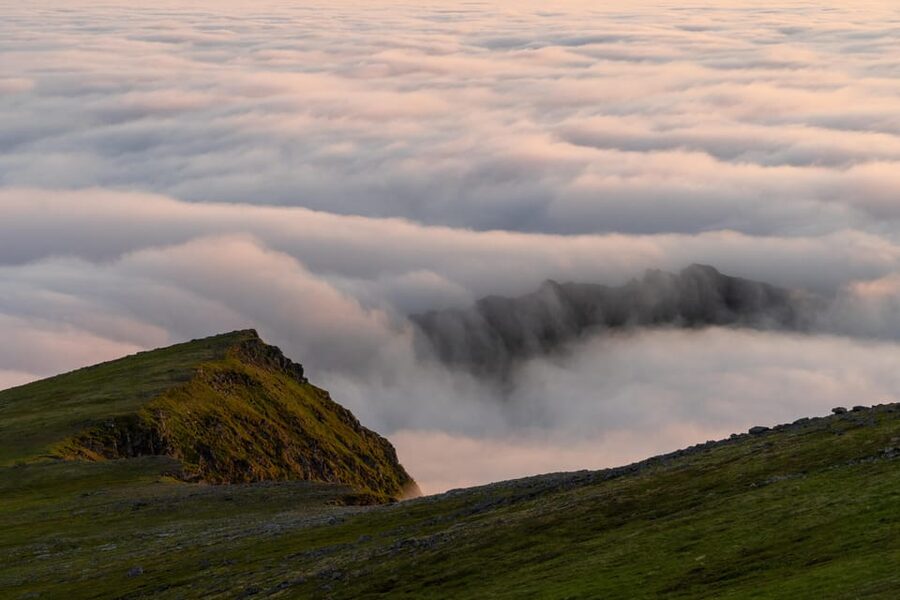
At $136 per person for a day tour, you are paying for more than just the trail. You are buying:
- A professional local nature guide
- English live guiding
- Walking poles
- A hike plan that climbs from sea level to 550 m
- Time to learn about wildlife and culture
- Guidance that adapts pacing, including for photos
The real value is that you are not doing this alone. In a place where weather can shift, having a guide who keeps you safe and helps you read conditions is worth real money. Also, the guide changes the hike from a route into an experience. Even if you are the kind of traveler who usually uses a map and goes solo, a guided hike here can be the better choice for comfort and confidence.
Duration is listed as 1 day, but the actual hiking time is about 3.5 to 4 hours depending on breaks. That length is ideal for travelers who want a meaningful outing without giving up the entire day to logistics.
When You Should Book This Hike
Book it if you want:
- A guided uphill workout with payoff views
- A guide who can explain local nature and culture
- A hike that is long enough to feel like a day, but short enough to keep plans flexible
- Help with stability thanks to walking poles
Skip it if:
- You need a flat, low-effort walk
- You have health constraints that make uphill trekking unsafe
- You are traveling with kids under 12
If you are on the fence, think about what you enjoy. If you like earning views by moving your body, this delivers. If you want scenery without strain, you will probably feel happier elsewhere.
FAQ
Where do I meet the guide for the hike?
You meet at the rest place at Gimsøystraumen, in the large parking area overlooking Gimsøya bridge. The guide waits at the red building.
How long is the guided hiking trip?
The hike takes about 3.5 to 4 hours total, depending on breaks and the group’s fitness level.
What elevation do we reach?
The route starts at sea level and reaches about 550 m above sea level.
What level of difficulty is the hike?
It is listed as an intermediate hike and it is uphill to a scenic mountain top.
Is the tour in English?
Yes. The live tour guide is English.
What is included in the price?
The tour includes a guide and walking poles.
What should I bring?
Bring hiking shoes, rain gear, comfortable outdoor clothing and layers, and a backpack with a water bottle plus snacks or a sandwich. Windproof and waterproof layers are also recommended.
Is it suitable for children or wheelchair users?
No. It is not suitable for children under 12 and it is also not suitable for wheelchair users.
Can I cancel or pay later?
Free cancellation is available up to 24 hours in advance for a full refund. You can also reserve and pay later.
Should you go? If you want a real uphill climb with a guide who keeps things safe and pace-friendly, this is a strong fit for Lofoten. If you prefer low-effort hiking, you will likely want something flatter.
More National Parks in Nordland
- From Tromsø: Ice Domes Snow Park and Wilderness Experience
★ 4.6 · 1,255 reviews - From Bergen: Folgefonna National Park & Glacier Lake Tour
★ 4.9 · 589 reviews - Musk ox Safari in Dovrefjell National Park, Oppdal Safari
★ 5.0 · 524 reviews - Bergen Day Tour to National Park Folgefonna and Glacier Lake
★ 5.0 · 408 reviews
Freshly reviewed in Nordland
- Lofoten: First Time Scuba Diving Experience★ 4.8 · 4 reviews
- Lofoten: Guided Mountain Snowshoe Adventure★ 3.7 · 3 reviews
- Lofoten: Half Day Snowshoe Tour★ 4.9 · 16 reviews
- Lofoten Islands: Guided Snowshoeing Tour – Uphill version★ 5.0 · 8 reviews
- Svolvær: Experience the Magic of the Northern Lights!★ 4.8 · 37 reviews
Lofoten, compared.
Lofoten RIB Sea Eagle Safari Trollfjord Cruise
Read our review →
Lofoten Island: Silent Trollfjord Cruise from Svolvær
Read our review →
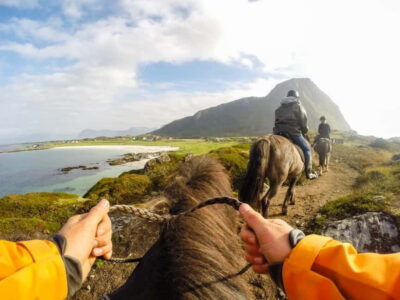
Lofoten: Guided Horse Riding Tour Over Hov and Hovsund
Read our review →
Browse the lists this tour appears in